Over 80% of EV charging happens at home. A properly installed Level 2 charger transforms your EV experience — you wake up every morning with a full battery, never visit a gas station, and spend roughly $40-60/month on "fuel." Here's everything you need to know about getting one installed.
Level 1 vs Level 2: Do You Need an Upgrade?
| Feature | Level 1 (120V) | Level 2 (240V) |
|---|---|---|
| Power | 1.4 kW | 7.2 - 19.2 kW |
| Miles added per hour | 3-5 miles | 25-50 miles |
| Full charge time (300mi) | 60-80 hours | 6-12 hours |
| Installation needed | No (standard outlet) | Yes (240V circuit) |
| Best for | PHEVs, <30 mi/day | All BEVs, daily drivers |
If you drive more than 30-40 miles per day or own a full battery EV, Level 2 is effectively mandatory. Level 1 simply can't keep up with daily driving needs.
Choosing a Home Charger (EVSE)
- •Amperage: 48A is the sweet spot — A 48-amp charger on a 60-amp circuit delivers ~11.5 kW, which adds about 35-44 miles of range per hour. This fully charges most EVs overnight. Going higher (60A+) requires a more expensive circuit and rarely provides meaningful benefit.
- •Hardwired vs plug-in — Hardwired chargers are permanently connected to your electrical panel and look cleaner. Plug-in (NEMA 14-50) chargers can be unplugged and taken with you if you move. Both perform identically.
- •Wi-Fi connectivity — Smart chargers let you schedule charging for off-peak electricity hours, track energy usage, and set charging limits from your phone. The savings from off-peak scheduling alone can justify the price difference.
- •Cable length: 25 ft minimum — Measure from where the charger will mount to the farthest possible charging port position on your car. Short cables are the #1 complaint from charger owners.
- •J1772 connector (universal) — All non-Tesla EVs use J1772 for Level 2. Teslas come with a J1772 adapter, so a J1772 charger works for every EV on the market.
Top Home Chargers
- •ChargePoint Home Flex — 50A, Wi-Fi, 23ft cable, NEMA 14-50 or hardwired. ~$700. The most popular home charger in the US for good reason.
- •Grizzl-E Classic — 40A, no Wi-Fi (keeps it simple), 24ft cable, NEMA 14-50. ~$400. The reliability-focused budget pick. Made in Canada, excellent build quality.
- •Emporia Smart Level 2 — 48A, Wi-Fi, energy monitoring, 24ft cable. ~$500. Best value smart charger. Integrates with Emporia Vue energy monitoring.
- •Tesla Wall Connector — 48A, Wi-Fi, 24ft cable, hardwired only. ~$475. Tesla owners get the cleanest integration and up to 44 miles/hour. Works with J1772 adapter for non-Tesla EVs too.
Electrical Requirements
This is where most of the installation cost comes from. Your home's electrical system needs to support the additional load.
- •Panel capacity — A 48A charger requires a 60A dedicated circuit breaker. Your main panel (typically 100A, 150A, or 200A) needs enough spare capacity. Homes with 200A panels rarely have issues. Homes with 100A panels may need a panel upgrade ($1,500-$3,000).
- •Dedicated circuit — The charger needs its own circuit — no sharing with other appliances. The electrician will run a new wire from your panel to the charger location.
- •Wire gauge — A 48A charger requires 6-gauge copper wire (or 4-gauge aluminum). The longer the run from your panel, the more wire is needed — and wire is a significant portion of the cost.
- •Permits — Most jurisdictions require a permit for a 240V circuit installation. Your electrician should handle the permit and inspection. Typical cost: $50-$200.
Installation Costs
| Component | Cost Range |
|---|---|
| EVSE unit | $400 - $700 |
| Electrician labor | $400 - $1,200 |
| Wire and materials | $100 - $500 |
| Permit and inspection | $50 - $200 |
| Panel upgrade (if needed) | $1,500 - $3,000 |
| Typical total (no panel upgrade) | $950 - $2,600 |
*The biggest variable is distance from your electrical panel to the charger. A charger mounted on the same wall as the panel might cost $500 to install. Running wire 50+ feet through walls and ceiling can push labor past $1,500.
Tax Credits and Incentives
- ✓Federal tax credit (30C) — Up to 30% of the total cost (equipment + installation), capped at $1,000 for residential. This covers both the charger and electrician fees.
- ✓State and utility rebates — Many states and local utilities offer additional $200-$500 rebates for home charger installation. Check your utility's website or DSIRE.org for local programs.
- ✓Time-of-use rates — Many utilities offer special EV rates that drop electricity to $0.05-$0.08/kWh during off-peak hours (typically 11pm-7am). A smart charger can be scheduled to charge only during these windows.
Installation Tips
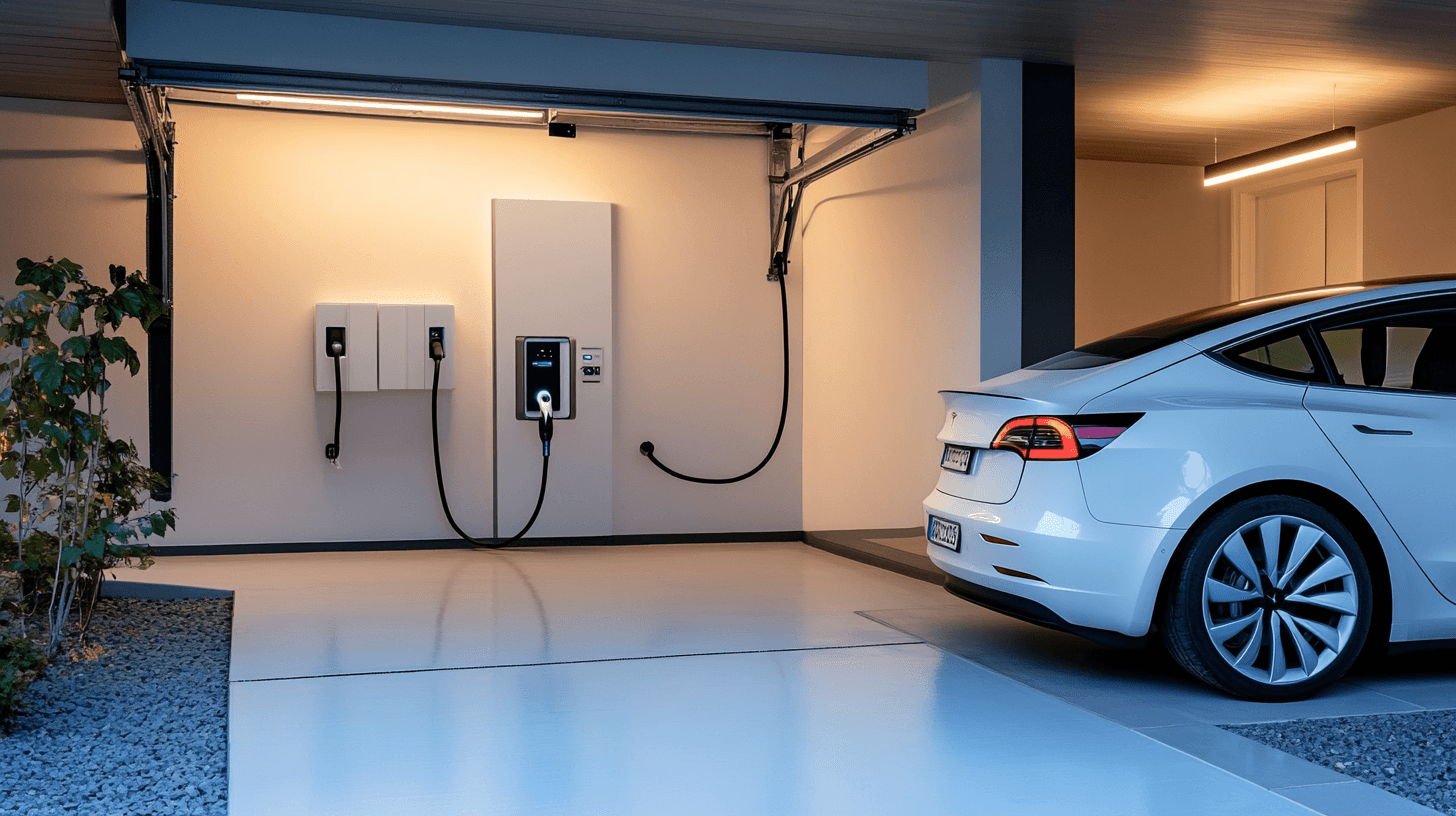
- •Mount at the right height — 42-48 inches from the floor is standard. This puts the connector at a comfortable height and keeps the cable off the ground.
- •Consider future-proofing — If you might get a second EV, have the electrician run conduit or wire for a second circuit now. It's much cheaper during the initial installation.
- •Outdoor installation — All recommended chargers are NEMA 4 rated (weather-resistant). However, a covered location extends the charger's lifespan and keeps the connector dry.
- •Get multiple electrician quotes — Prices vary significantly. Get at least 3 quotes and ensure each includes permit and inspection costs. Avoid anyone who suggests skipping the permit.
Final Verdict
A home Level 2 charger is the single best upgrade you can make as an EV owner. The convenience of waking up to a full battery every day, combined with off-peak electricity rates, makes home charging both the cheapest and most convenient way to power your vehicle.
For most homeowners, a 48A charger with Wi-Fi connectivity on a dedicated 60A circuit is the ideal setup. Total investment including installation typically runs $1,000-$2,000, much of which is offset by the federal tax credit. It's one of those purchases that pays for itself quickly and improves daily life immediately.